

I spend a lot of time looking on pinterest for inspiration or fantasizing about moving into my own place. Though I strongly believe that dreaming and fantasizing IS healthy, it can become unhealthy when you don't appreciate what you have. So rather than spending ALL my time thinking about the place I don't have, today I am enjoying what I do have (whilst I have it, soon I have to move into a darker and smaller room next door, a minor set-back...).
I am a major thrifter, upcycler and always looking out for things. Whether I find them on the street, my friend digs them up or I find it in a market-- and sometimes just mysteriously acquire. There are not many things I believe in spending money on, maybe my boots, but even then I think I am going to convert to buying vintage second hand DMs on ebay as my shoes were such as success (and massively cheaper).
So here I am going to share with you some ideas of how to decorate a space with virtually no money, a huge dose of creative love and bohemian spirit.

As well as being a little bit of an oddity hoarder, I also obsessively take pictures on instagram (find me here) which can be printed using a variety of companies to produce faux Polaroids (I used Origrami). I have tons of these dotted all over my room as little tokens of memorable moments from living here in Paris. And yes the Eiffel Tower is not really present... Instead I have a pic of la petite ceinture and a dead bird.
I also have a few things that I have found along the way, a picture of a boy, a bird skull I made into a mini terrarium from an old ratatouille jar and some old tins. I like old things...

Yes, I also collect glass jars. I have a stash under my bed. They are very handy for candles, flowers, jewelry... etc. Some of them I modge podged with patterned tissue paper as above so that they glow pretty colours when the candles are lit inside. So pretty! You can also spy in the middle one of my glass bottles that art for sale over on my Etsy, a piece of pottery I found on a dig with a dear friend (yes its broken... this is one of my quirks. I love broken pottery), a book full of more "Polaroids" and a pouch I made to store bits n bobs- made from fabric scraps.

My little birds... And my memory mobile. The bark was from a special tree growing out of the grave of a witch in Pere Lachaise, a gentleman that specializes in vampire folklore gave it to me. The bones I found on a beach whilst I was at uni in England on the beaches of Whistable, the rose I found on a street in Lyon, the key in the French countryside, and the shells were from a fairy grotto in Canterbury. From Pere Lachaise to Lyon to the British Coast...

Crate storage units. I started running out of space a while back and needed some kind of shelves so I found these lying around and brought them home. They are not as good as my friend's brewery crates in England but hey, they work. More than I can say for DAB radios in France!

Absinthe spoon, homemade clay bowls (tutorial here), old French book found abandoned in the street, a glass vase I dug up in Wales. Oh and some camera batteries.

Jam jar storage for tea, another handmade pouch and another DIY tea light.

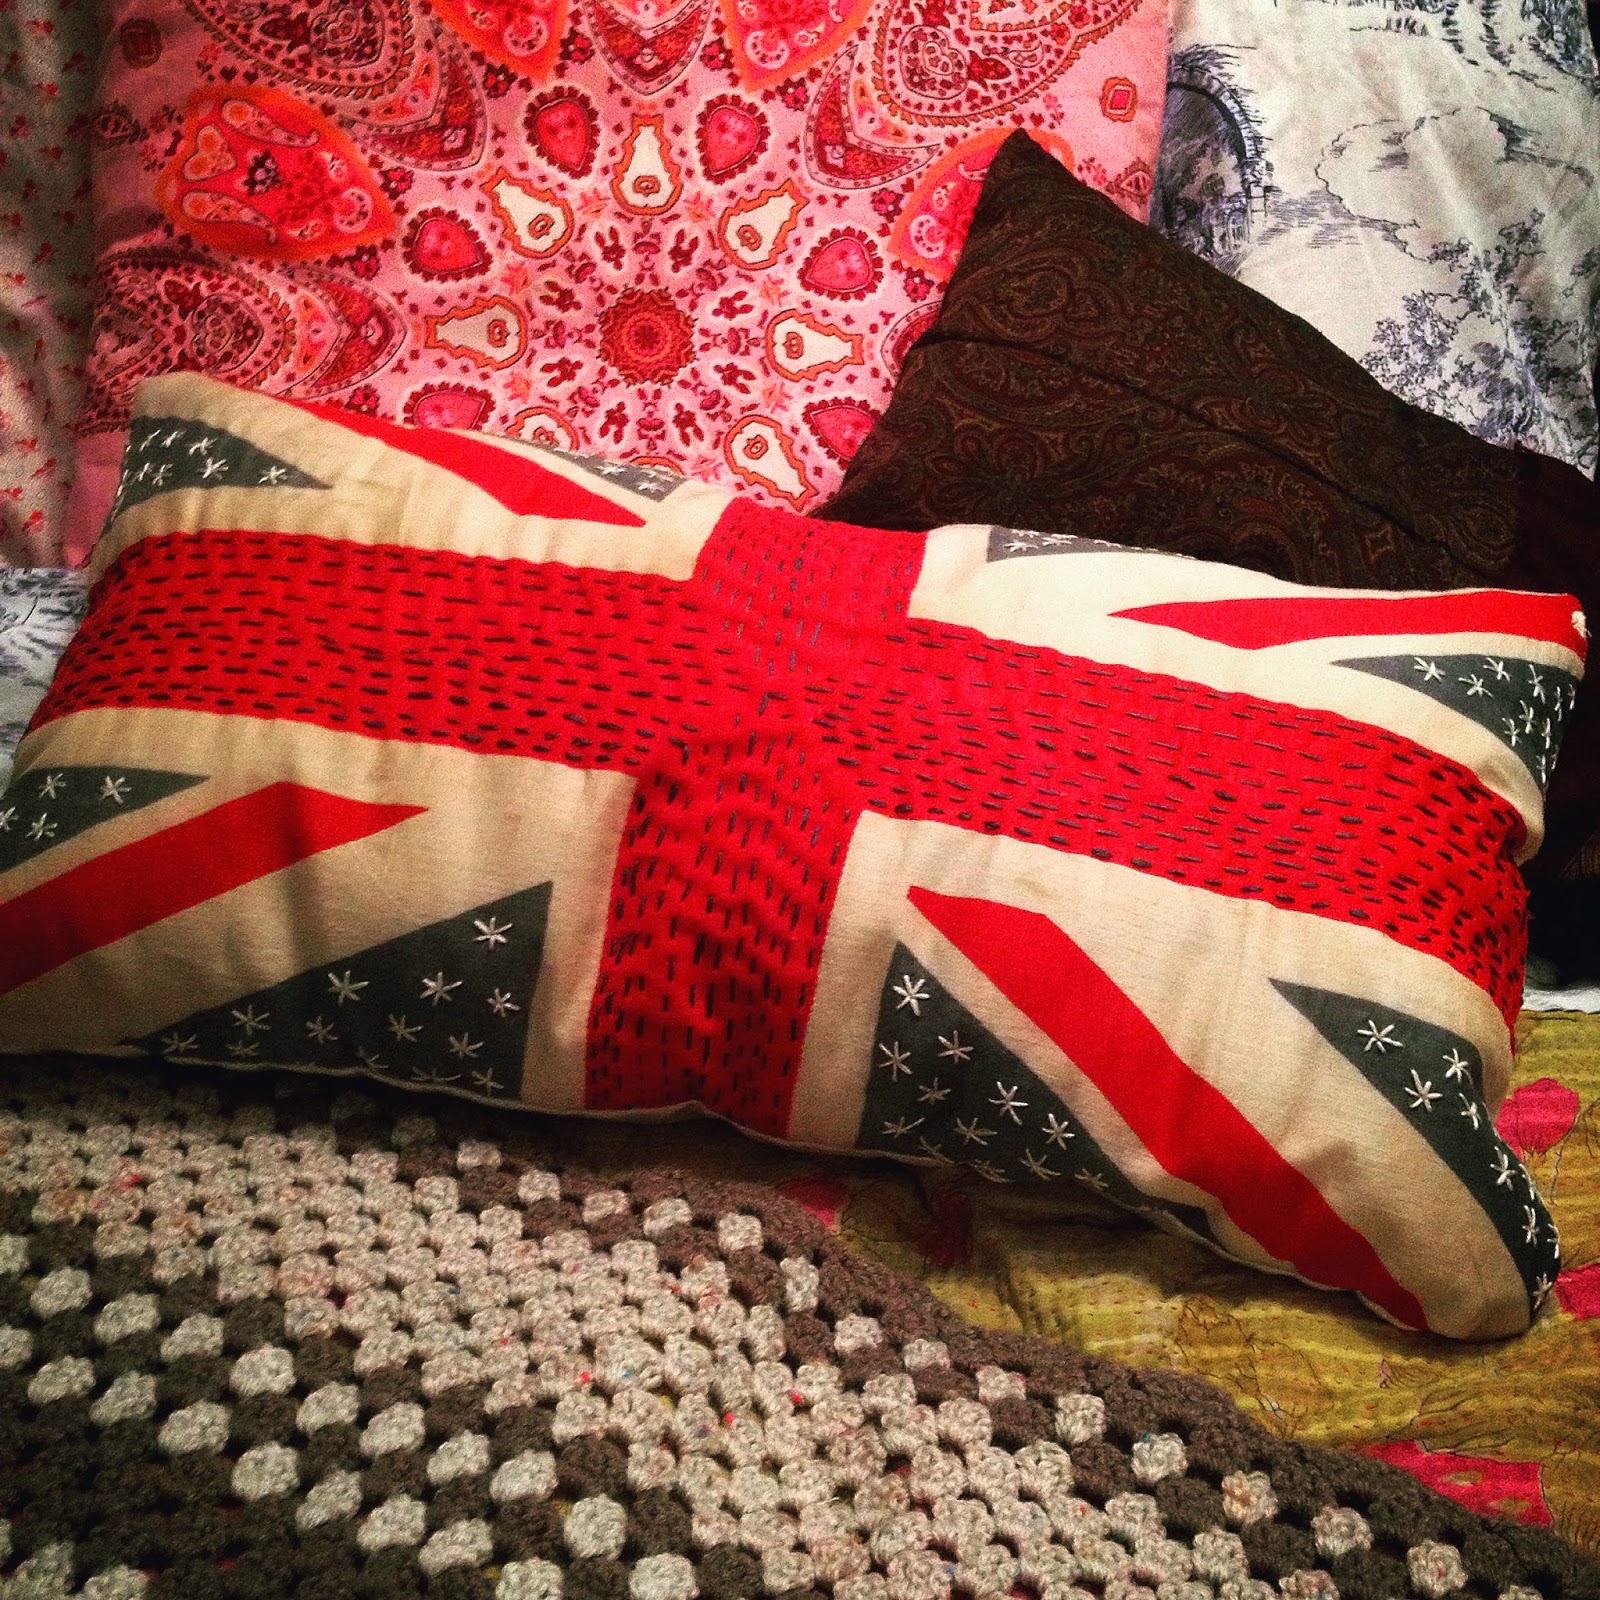
All of this was found. Both the suitcases I found in the street and upcycled, for the small one see here, and for the larger one see here. The top cushion was an old paisley scarf that was no longer worn and the bottom one was a piece of vintage bunting that I embroidered. Oh and there are some beautiful old bills there too.

My latest project, my chair. I found him in the trash with a hole in it and totally re-did it for the price of two tester pots of paint, a piece of fabric and the trim. Have a look here if you are curious.

Find an ugly white crochet blanket? Dye it. I got this blanket for a euro, it had ugly stains all over it so I soaked it then dyed it a pale blue. Sorted.

Dream catcher from an embroidery hoop? Here is something else I made using scraps. I found it to be a good way to use odds and ends, whether it be paper based or yarny.

Now I have a weird confession to make; I sleep upside down. This is the headboard but I don't use it as such. I just realized one night it was easier to sleep the wrong way up and it became a habit- and also quite useful for storing my headscarves.
And yes ALL my mirrors are surrounded by tidbits. Flowers, birthday crown, photos, postcards, tickets etc. I like to surround myself with these things, I find it inspiring.

My bed after a lazy morning. Piles of cushions, handmade and bought, my kantha quilt, my crochet quilt just poking out in the corner (both second hand) and of course the faithful ikea bedding.

I always find fairy lights brighten any room up. The last place I lived in apparently looked like the cross between a cell and a squat, until the lights went up! This door has been painted shut a long time ago...

My jewelry rack: a branch with nails in it. How cheap can you get?

Another mirror. My landlady loves mirrors. Too be honest there are too many for my taste. This is prob why they are all half covered up. Here is my friend too, his name changes depending on my mood. Right now its Timothy.
Lots of blankets always add to coziness.

Another mirror on my wardrobe... More photos...

A random ticket I pulled out my pocket late the other night.

Creative clutter? A WIP mannequin body, my vintage DM shoes on my H and M rug (good for cheap faux vintage stuff), some ornate table legs I found and painted, my lace petticoat, my handbag with headphones and the contents just left on the floor (bad habit of mine). The notebook is one of my own from my Etsy store, I hand make them, custom order... hint hint. Anything you want! Just sayin'.

My dressing table. Here is a real ton of odds and ends. Books (Lolita is my favorite of all time), thrift store scarf (1E!!), jar lid magnet things, more tins and boxes.

Covering tins with decoupage paper make great storage.

Found things, china pigeon, feathers, pine cone, old tile...

And I will finish with this one. See the mayhem!
The "shelf" is just a piece of wood I found balanced on books and tins and edged with washi tape.
I find that you really do not have to spend lots of money to make your space beautiful if you seek out thrift stores, ebay, gum tree, leboncoin (if in France) etc. |Or just look in skips. Or outside student properties on moving day. A bit of paint and love can fix all sorts.

And remember, perfection is overrated. I know about the spelling mistake.
This is going to be nailed up in my future studio, I am keeping it to remind me of my dream.


