Showing posts with label hippie. Show all posts

Tuesday, 19 May 2015

Take a Peek into the Crafty Space of OrchidsHeart...


I spend a lot of time looking on pinterest for inspiration or fantasizing about moving into my own place. Though I strongly believe that dreaming and fantasizing IS healthy, it can become unhealthy when you don't appreciate what you have. So rather than spending ALL my time thinking about the place I don't have, today I am enjoying what I do have (whilst I have it, soon I have to move into a darker and smaller room next door, a minor set-back...).

I am a major thrifter, upcycler and always looking out for things. Whether I find them on the street, my friend digs them up or I find it in a market-- and sometimes just mysteriously acquire. There are not many things I believe in spending money on, maybe my boots, but even then I think I am going to convert to buying vintage second hand DMs on ebay as my shoes were such as success (and massively cheaper).

So here I am going to share with you some ideas of how to decorate a space with virtually no money, a huge dose of creative love and bohemian spirit. 


As well as being a little bit of an oddity hoarder, I also obsessively take pictures on instagram (find me here) which can be printed using a variety of companies to produce faux Polaroids (I used Origrami). I have tons of these dotted all over my room as little tokens of memorable moments from living here in Paris. And yes the Eiffel Tower is not really present... Instead I have a pic of la petite ceinture and a dead bird. 

I also have a few things that I have found along the way, a picture of a boy, a bird skull I made into a mini terrarium from an old ratatouille jar and some old tins. I like old things...


Yes, I also collect glass jars. I have a stash under my bed. They are very handy for candles, flowers, jewelry... etc. Some of them I modge podged with patterned tissue paper as above so that they glow pretty colours when the candles are lit inside. So pretty! You can also spy in the middle one of my glass bottles that art for sale over on my Etsy, a piece of pottery I found on a dig with a dear friend (yes its broken... this is one of my quirks. I love broken pottery), a book full of more "Polaroids" and a pouch I made to store bits n bobs- made from fabric scraps. 


My little birds... And my memory mobile. The bark was from a special tree growing out of the grave of a witch in Pere Lachaise, a gentleman that specializes in vampire folklore gave it to me. The bones I found on a beach whilst I was at uni in England on the beaches of Whistable, the rose I found on a street in Lyon, the key in the French countryside, and the shells were from a fairy grotto in Canterbury. From Pere Lachaise to Lyon to the British Coast...


Crate storage units. I started running out of space a while back and needed some kind of shelves so I found these lying around and brought them home. They are not as good as my friend's brewery crates in England but hey, they work. More than I can say for DAB radios in France!


Absinthe spoon, homemade clay bowls (tutorial here), old French book found abandoned in the street, a glass vase I dug up in Wales. Oh and some camera batteries.


Jam jar storage for tea, another handmade pouch and another DIY tea light.


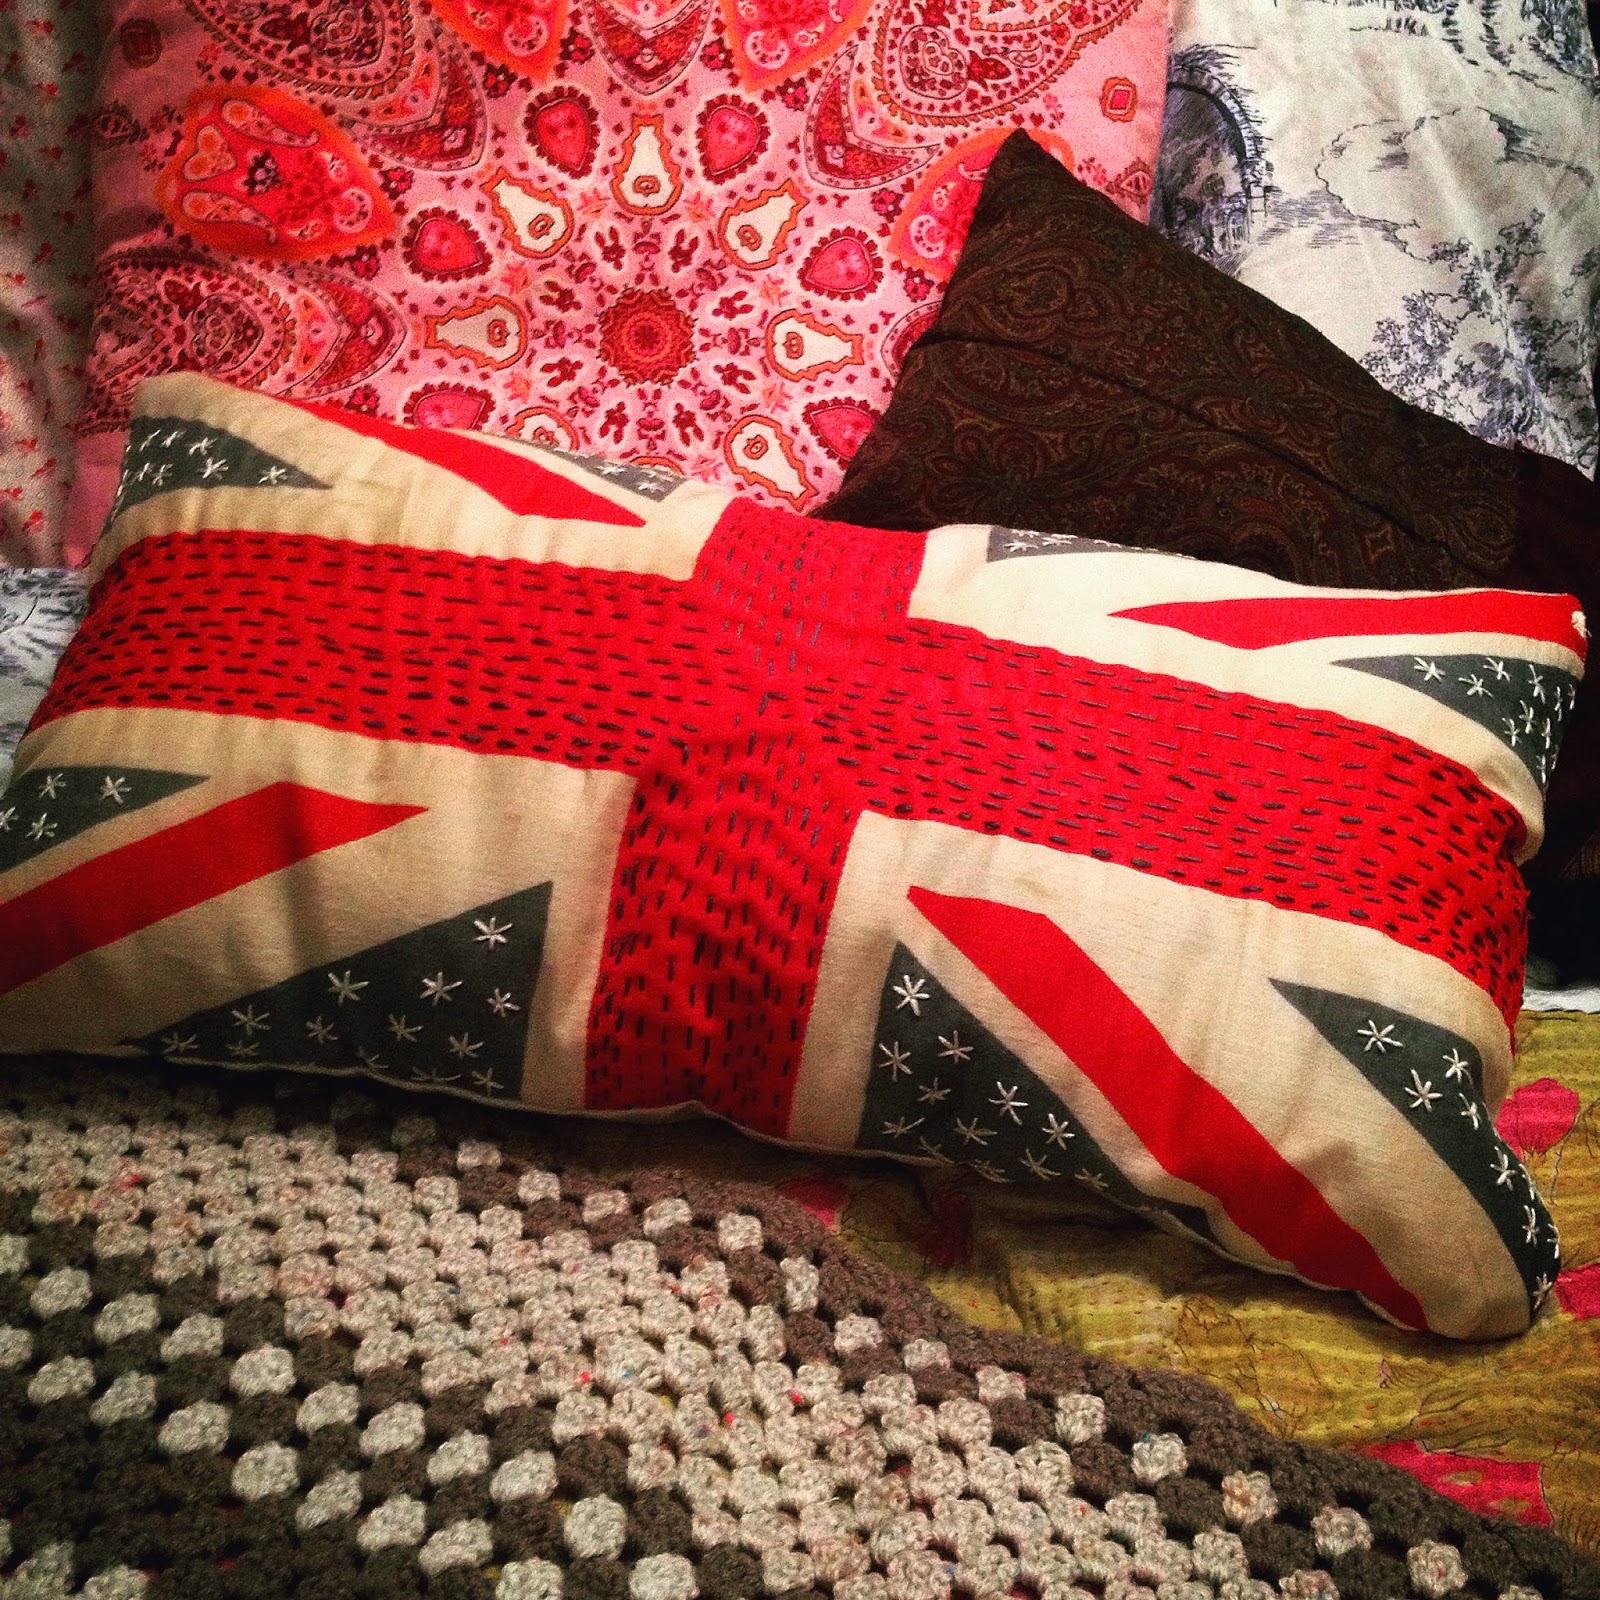
All of this was found. Both the suitcases I found in the street and upcycled, for the small one see here, and for the larger one see here. The top cushion was an old paisley scarf that was no longer worn and the bottom one was a piece of vintage bunting that I embroidered. Oh and there are some beautiful old bills there too. 


My latest project, my chair. I found him in the trash with a hole in it and totally re-did it for the price of two tester pots of paint, a piece of fabric and the trim. Have a look here if you are curious.


Find an ugly white crochet blanket? Dye it. I got this blanket for a euro, it had ugly stains all over it so I soaked it then dyed it a pale blue. Sorted.


Dream catcher from an embroidery hoop? Here is something else I made using scraps. I found it to be a good way to use odds and ends, whether it be paper based or yarny. 


Now I have a weird confession to make; I sleep upside down. This is the headboard but I don't use it as such. I just realized one night it was easier to sleep the wrong way up and it became a habit- and also quite useful for storing my headscarves.

And yes ALL my mirrors are surrounded by tidbits. Flowers, birthday crown, photos, postcards, tickets etc. I like to surround myself with these things, I find it inspiring.


My bed after a lazy morning. Piles of cushions, handmade and bought, my kantha quilt, my crochet quilt just poking out in the corner (both second hand) and of course the faithful ikea bedding.


I always find fairy lights brighten any room up. The last place I lived in apparently looked like the cross between a cell and a squat, until the lights went up! This door has been painted shut a long time ago...


My jewelry rack: a branch with nails in it. How cheap can you get?


Another mirror. My landlady loves mirrors. Too be honest there are too many for my taste. This is prob why they are all half covered up. Here is my friend too, his name changes depending on my mood. Right now its Timothy. 

Lots of blankets always add to coziness.


Another mirror on my wardrobe... More photos...


A random ticket I pulled out my pocket late the other night.


Creative clutter? A WIP mannequin body, my vintage DM shoes on my H and M rug (good for cheap faux vintage stuff), some ornate table legs I found and painted, my lace petticoat, my handbag with headphones and the contents just left on the floor (bad habit of mine). The notebook is one of my own from my Etsy store, I hand make them, custom order... hint hint. Anything you want! Just sayin'.


My dressing table. Here is a real ton of odds and ends. Books (Lolita is my favorite of all time), thrift store scarf (1E!!), jar lid magnet things, more tins and boxes. 


Covering tins with decoupage paper make great storage. 


Found things, china pigeon, feathers, pine cone, old tile...


And I will finish with this one. See the mayhem!

The "shelf" is just a piece of wood I found balanced on books and tins and edged with washi tape. 

I find that you really do not have to spend lots of money to make your space beautiful if you seek out thrift stores, ebay, gum tree, leboncoin (if in France) etc. |Or just look in skips. Or outside student properties on moving day. A bit of paint and love can fix all sorts. 


And remember, perfection is overrated. I know about the spelling mistake. 
This is going to be nailed up in my future studio, I am keeping it to remind me of my dream.


Saturday, 11 April 2015

Gold RImmed Stamped Clay Bowls


I saw this blog over on pinterest for stamped clay bowls and really loved the idea, I also needed to make something for a belated mother's day present for when I head back to the UK in the Easter hols. So I thought this would be perfect. But in my normal haphazard style, mine are of course far from the perfection of Gathering Beauty's bowls. But I still love them and think my mother will too.

WHAT YOU NEED


Air Dry Clay
A Stamp of Some Kind (mine was a clear plastic one but you can use wooden mounted rubber ones too, they can also be any size, you will just need to stamp more).
Ink
Gold Cermamic Paint
Rolling Pin
Knife
Sandpaper
Paintbrush
White Spirit


First of all I made a mount for my stamp because I did not have one of those plastic blocks big enough, and I was trying to do this on the cheap.


You can see it here inked up and ready to go.


Then get a chunk of clay, knead it then roll it out until the desired thickness.

There are two ways of going about the next bit, either you can stamp the rolled out clay, or you can cut it to shape first then stamp it. I found doing it the first way (as the other blog did), meant that I had scraps of clay with ink on it, thus making it more or less useless to use again. So I decided it was better to cut it to size first.


So put a bowl over it that is the desired size and cut around with a knife.


Voila!

Now stamp it. Remember to ink up your stamp thoroughly each time and apply equal pressure.


You will then have a stamped disk, as you can see my ain't perfect (but it is part of the charm!)


Then press it carefully into a bowl. Do this evenly and gradually to avoid distorting the pattern.


Keep going until you use all your clay and all your bowls!

You then need to leave them to dry, I did this before work and by the time I came home (7 hours later in my very warm apartment) they were ready to turn out.


If you look carefully on this one you can see the rim is whiter where it is dry and the rest is still grey. It is not quite ready to be turned out.


This is how they looked when I left them to dry over night.


Once totally dry (about 24hours later) I gave them all a good sanding and evened out the rims as much as I felt like.


See, Much neater.


I then painted all their rims gold.


Some of them however had traces of blue ink on the bottom so I thought I would paint some of the bottoms gold too. Also as I am giving them as presents in sets of two, I thought this would make it more exciting!


Two coats later and I am done.


I am quite happy with how they turned out and will deff do this again. It was good fun and fairly cheap. And I think they look beautiful!

Next time I would like to get another stamp and colour to mix it up a bit. I nearly went with another colour because this is the same as the colour Gathering Beauty used, but its also the colour of my current bed and future bedroom AND my other choices of red or purple would not have been as appreciated by the intended recipients. Choosing another colour purely to be different seemed more daft than using the same! But if it had been just for me I would have done red for sure. 

Here is a pretty song


Tuesday, 10 March 2015

Naturally Revitalizing Your (Real or Fake) Ginger Hair

Ever since I was a kid and saw Practical Magic I have lusted after Nicole Kidman's red hair (incidentally I think I sort of also wanted to be a witch but hey...!). I mean seriously her hair is gorgeous...


And of course dancing with midnight margaritas is always a plus (though as a kid the crazy dancing sufficed).

Weirdly even my mother wanted a red-headed daughter, but what with her and my father having almost black hair this seemed a somewhat fanciful wish to say the least. To cut a long story short, and a lot of attempts using chemical auburn dyes in my early uni years I kinda gave up on the "dream" but then I discovered henna. All I can say is my love affair started and many people now can't imagine me any other way. In fact often people are shocked when they realize I am a fake...! Including an authentic ginger friend of mine (apparently I have betrayed him with my faux gingerness).

Henna is really THE best dam way to get natural looking ginger hair, I have been faithfully using henna for I think three years now, I am kinda hazy as to when I started.... However I hate dealing with roots, and the fading. Though hennaed hair doesn't root anything like chemical dyes and it kinda blends in when it grows out, I still hate it. It gives me away! IF people are observant. And it is always a much better colour in the sun, inside when the light is dull my hair is equally dull and I am always battling against this. I feel like my hair is reflective of my personality, or at least it should be and therefore it can't be dull...! 

Sunned ginger locks.


So I was inspired by this post and decided to make my own doctored version. Not only did I feel a little like a Nicole Kidman witch, it really worked after one treatment and was far less messy than a henna root job. I THOROUGHLY recommend. It brightened my hair, lightened it a bit, and made my roots disappear. 

Winter dulled ginger (and this is a good day). It just ain't bright enough pour moi.


Natural Henna Hair Mask

Ingredients

This can be played with depending on what you have in your home.

Chamomile tea
Olive oil
Honey
Henna (I use Lush's Caco Rouge because I know I can trust it not to have any funky copper deposits or whatever).
A natural conditioner, in France we have a brand called Nectar of Nature that seems to be less offensive then usual brands)
Aragon oil (optional)

A JAR OF SOME SORT (my conditioner came in a tub not a bottle so I am recycling that as there is not a lot of it left anyway).

First take a square or so of henna and cut it up as fine as poss (the hot water never dissolves it totally).


Then pour half a cup of boiling water over the tea. I used two because I think packaged tea is a bit weak. If I wasn't so broke I would have bought a packet of actual chamomile flowers from the natural store (Bio C Bon) and brewed that up, but that was 5euro and this box of tea was 1.50, I figure there will deff be a difference in quality but I am broke so hey ho....

Give the gloop a good mix. 

Then add the extras. A good squirt or two of honey. A glug of oil. A few drops of aragon oil. And then mix in the conditioner until it hits the desired consistency. I ran out of conditioner as all I had left it what is you can see in the tiny mug.

It ended up looking like this:


(I apologize profusely over the picture quality, I am having camera issues right now).

On a casual sunday afternoon whilst I was drawing, I dunked my head under the shower head, towel dried it, then coated it in this mixture and then covered it in cling film and let it sit for about 30min before washing it out. 

Deff was a good quick perk up! I think I might put some more conditioner in though when I get around to buying more. Or I might just use this, as its impossible to OD on henna in my eyes.


I ended up transferring it to a prettier container too. I am gonna coat the label in modge podge so it holds up better,


I am hoping that this mixture will give me "in the sun" ginger hair all year round. And with its hair lightening ingredients (chamomile, honey, olive oil) it should gradually build up to achieve just this. But if I get bored of waiting I might just coat my head in honey and do it that way! 

Seeing as this is generally stuff I have sitting around (I bulk buy my henna in the UK because the taxes here on that stuff is insane) it was basically free at the moment I decided to make it. If you are a henna head too, just keep a square back next time so that you can mix up a batch of this to keep you going until you henna again (I never use more than three squares at a time now anyway).

****

Check out my Etsy store here.