

Making your own leggings is EASY-PEASEY. I always assumed it would be terribly hard, exasperating and just not worth the effort. I spend so much time envying the pretty leggings that little girls get to wear (I KNOW!!) and imagining lovely candy striped legs, but it is impossible for me to find leggings I actually like. And tights, don't get me started. I try to like wearing them, but they just don't stay put for me. So I decided to try, and it could not have been more easy!
On an almost daily basis I wear Forever 21 grey leggings, they do a shade that just seems to match all my clothes and so I regularly order some in to the store (because typically they never have them when I go looking). And it struck me, that as those fit me perfectly, I already have a pattern. So the last pair that bit the dust and got holes where you don't want holes got sacrificed to my grand plan. I scoured the shops in the Montmarte area of Paris, Marche Saint Pierre and the best jersey I could find this grey with flamingo print. Not my cup of tea exactly but I was impatient to test my theory.

What You Need:
*An old pair of leggings that fit you perfectly, pref ones that are holey
*Jersey fabric, amount will depend on size and height, I am a size 8-10 and I bought a meter, there was some left over but not as much as I expected, if you are unsure I suggest you do the first step at home and take your disassembled leggings to the store to make sure you get enough. It is essential you check the fabric has a decent amount of stretch!
*Elastic, enough to comfortable go around your waist, with an extra 2 inches, approx. I suggest 1.5cm wide ish. Use the waistband on your old ones for a guide.
*Cotton thread that colour matches your fabric
*Sewing machine and all that jazz
Step One

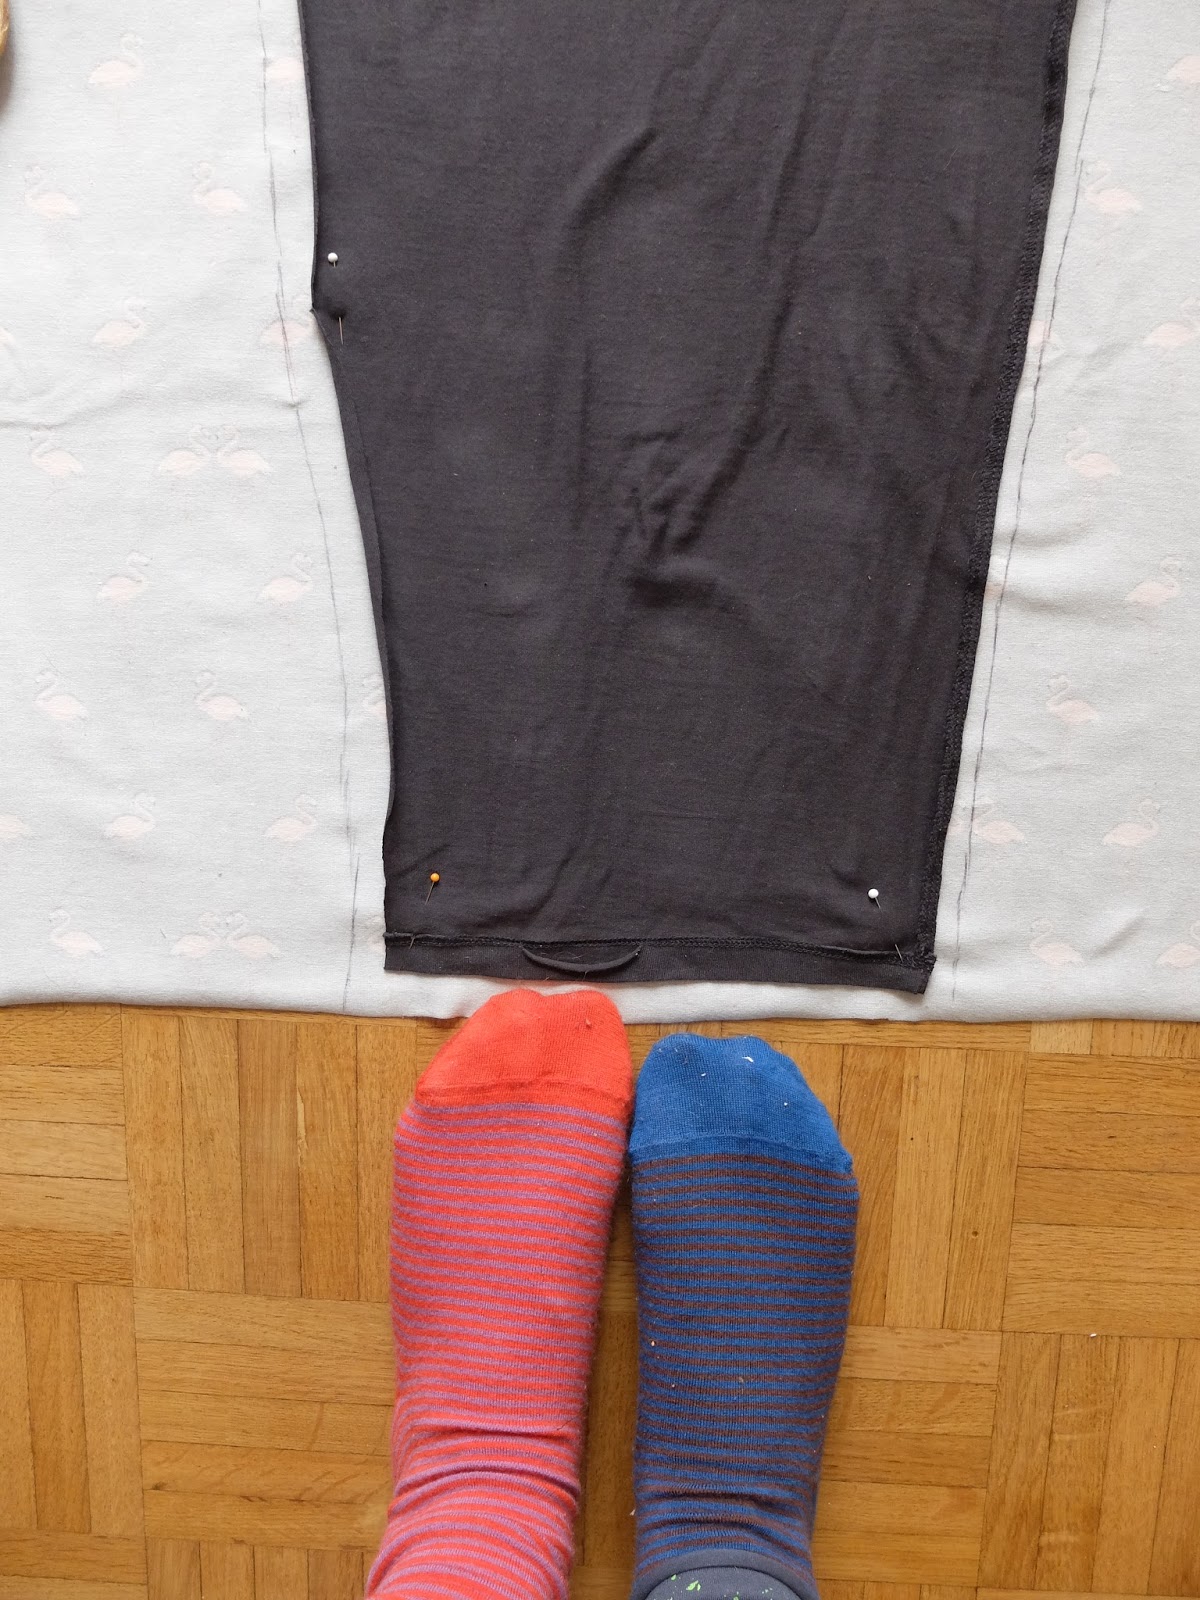
Cut up your old leggings. Start by cutting off the waistband (perhaps it could be useful for another project?). Then cutting one leg off the pair, and then finally up the seam on that separated leg. You should be left with a shape like the one above. Always cut as close to the seam as you can. The discarded leg can be used to test your stitch and tension or practice sewing on jersey or what have you. It can be used for making something else too....
Remember if you have no idea how much fabric to buy, you will need two of those legs so you could measure its widest point (+seam allowance) and length (+seam allowance) to get a vague idea.
Step Two

Fold fabric in half, right sides together and pin leg pattern to it. If you want, draw a line roughly one cm away from the edge, taking care of curling, all the way around.
Step Three

Take one leg and fold in half with the sides touching.

Pin in place.

Stitch using a zig zag stitch, remember how much space you left for seam allowance. I would practice on your spare old leg first, and test its strength. I gave it a good tug, pulled it on over the thickest part of my leg etc to see if the stitches would break. Once I was satisfied I moved on to my new ones.
Repeat for second leg.
Step Four

Turn both legs the right way out and match the crotch seems up. Pin together as pictured. The seams must match up totally. I put a second pin in further down to prevent the legs becoming misaligned.


Then proceed to pin up the butt seam and the front (sorry!)

I am attempting to show you what I mean, but it should be obvious really. Just make sure everything lines up and is tidy.
Then stitch away!
Step Five
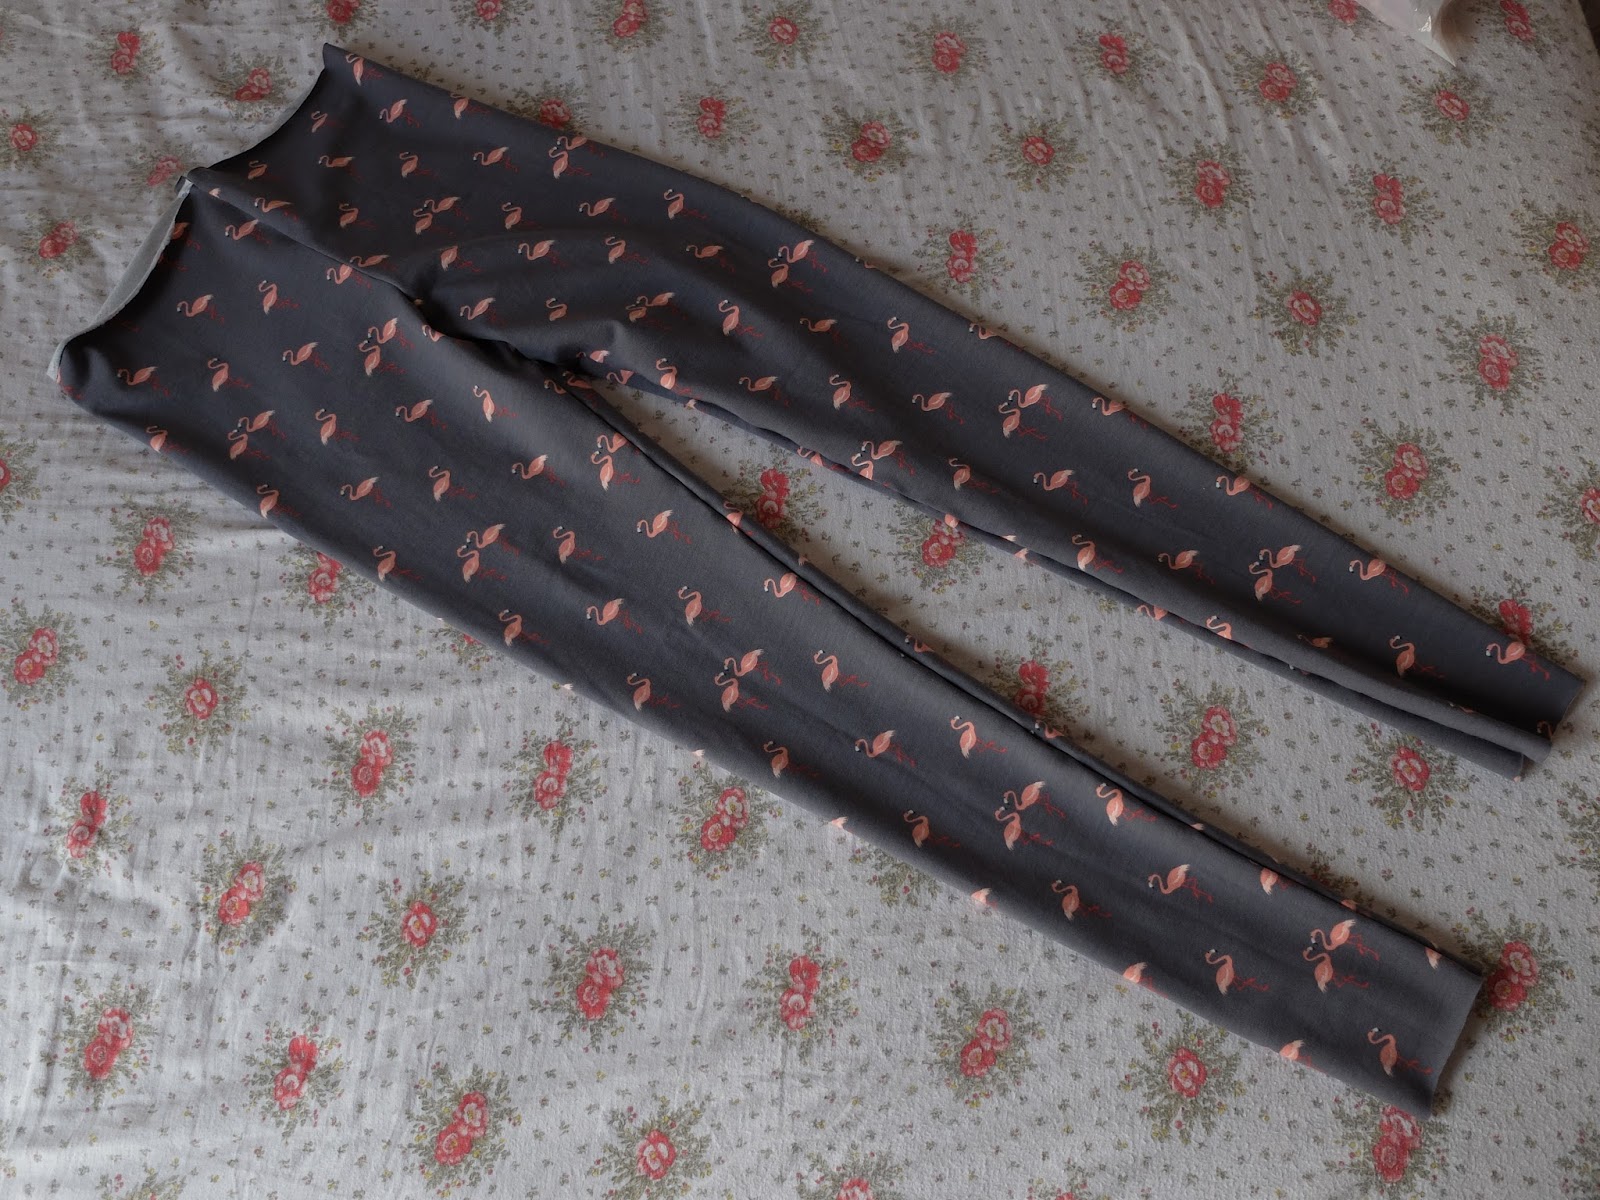
You should have something resembling leggings now. All that is left is the waistband. If you have ever made a simple skirt, this will be familiar business.

Roll the top over, first a little bit, then enough to comfortably accommodate your elastic. This is so that your waistband is nice and comfy and tidy too. Pin in place and just to make sure, tack it around with a large running stitch and remove the pins.

You can see my tacking here.
Step Six

Using zig zag again, stitch around the waistband, on the edge, all the way around, leaving one inch open. Measure your elastic, it should be the circumference of your waist, plus two inches. I just guess by holding it against me. Feed the elastic around using a safety pin.

Overlap the elastic and stitch over several times. Make sure it is strong. Push it into the waistband and stitch up your gap.

As an after thought I got a bit worried that the elastic might get twisted as I wore and washed them, So I stitched over the elastic where the front and back seams were.

Et Voila!


Excuse the panty lines on the second picture, I am deffo not the kind to wear just leggings and a tshirt (unless its to bed), but I wanted you to see that they fit mighty well. My housemate said they looked bought!
You will notice I did not hem the ends. Apparently jersey never frays. Plus my only not plain leggings, my absolute favorites, which do peek into one of the photos on this tutorial, are also left unfinished. I have been wearing them for a couple of years, and its never been an issue, plus its less bulk and pressure on your ankle. And less chance of breaking your stitching. For the sake or ease, I won't give myself extra work!
I am VERY pleased with this. It took me longer to write up this tutorial than actually make them, I think all in all it was about an hour. Nothing was too fiddly, it was a piece of cake. I spent the morning reading up on sewing jersey fabrics, having special needles and feet and all sorts. Tilly and the Buttons suggests just using an ordinary sewing machine and a zig zag stitch so I thought what the hell. So here is proof, you don't need any fussing to make your very own leggings. I feel a very expensive fabric order coming on....


