

So a few months ago I undertook a suitcase renovation, which you can read about here. I have a HUGE luggage obsession. Back when I lived in the UK and was shuttling between uni and home I had a little collection going- at uni I had a steamer trunk and at home two large suitcases and a small 'un. I was consequently banned from collecting more (so I acquired a vintage leather doctor's bag). It's a sickness!
This suitcase I actually found whilst walking a dog, (I say "a" dog because he is not mine). I dragged it home on a bus, tram AND metro then up the several flights of stairs to get to my apartment. This turned out to be the easiest bit!
Furthermore I decided to make a game of it, lets see how LITTLE I can spend on this project and see what happens- I ended up spending under 2 euro, so I think this was a success.
(The quality of photos vary as some were taken in the middle of the night (!) and some on my phone, some on my camera etc, so I apologize for the inconsistency...)
WHAT YOU NEED
Paint (spray paint or acrylic is what I used)
PVA glue, lots of
A few old brushes
Some paper to cover the outside (I used wrapping paper from ikea but I would recommend something better quality)
Something to decorate the inside, more paper or an old book, or decoupage papers- whatever!
Paper clips are useful
Scissors
Ruler
Pencil
Double sided tape was handy too
Jam jar lid (for putting the glue and paint on)
Protective sheet or covering
Maybe gloves depending on your paint (I had green hands for a while)
Craft knife/stanley knife

So I started with this rather ugly and plasticy suitcase, it had no handles and two holes in the front. It was fairly solid and had no smell (unlike the last one). As it wasn't made of leather I decided it would be perfect for decorating inside AND out. The last one was too pretty on the outside to do anything other than clean up- this one however is just not doing anything for me beauty wise- a perfect DIY basis!
So I knew I would paint the metal bits as no matter what I covered it with, they are the places that will get the most friction and I knew paper would rip and fabric would fray. Plus it would be a pain to cover them and not look as good. Now as I was on a mission to do this on the cheap, I raided my cupboard and found some spray paint...
Now I realize now the colour is TOO much. I had envisioned the bright green metal and some crazy pinky fabric, but when I went to ikea to get the fabric, I didn't like it in person. The spray paint had been hiding in my cupboard for months so I figured WHY NOT?! Oops.

I spray painted all the metal bits (to the horror of the gardienne- the person that maintains the apartment buildings and sorts the mail etc). She made me leave so I had to continue in the "cave" (aka basement).

As you can see it was kinda messy- especially when you are doing it at top speed to avoid getting caught again... I was still working in shared space- here is actually the exit to the courtyard. Dangerous territory....!

Next step was to take a book I had found and rip it up- I decided that this is what I would use to cover the inside.

I then proceeded to very messily paste the inside with PVA glue and plaster the inside with the book pages, every which way until the whole inside was covered.

Taken from my instagram here.
As you can see once I had covered the inside of the whole thing I took the front cover of the book and stuck that on too. I liked the addition of the red, I think this also influenced my later change of colour.

When glueing the pages down you do have to be a little careful to make sure you smooth out bubbles and that its ALL stuck down. I went over the edges and over the top with the glue to make sure it was thoroughly fixed as I did the whole inside.

I did go over the edges a bit, this is fine because you can just cut it off later.

Before doing the inside front I had to fill in the holes left by the handles. To do this I cut out some card to size and jammed it in the hole and then taped the whole lot up like this.

Then I kept glueing and papering until I had this:
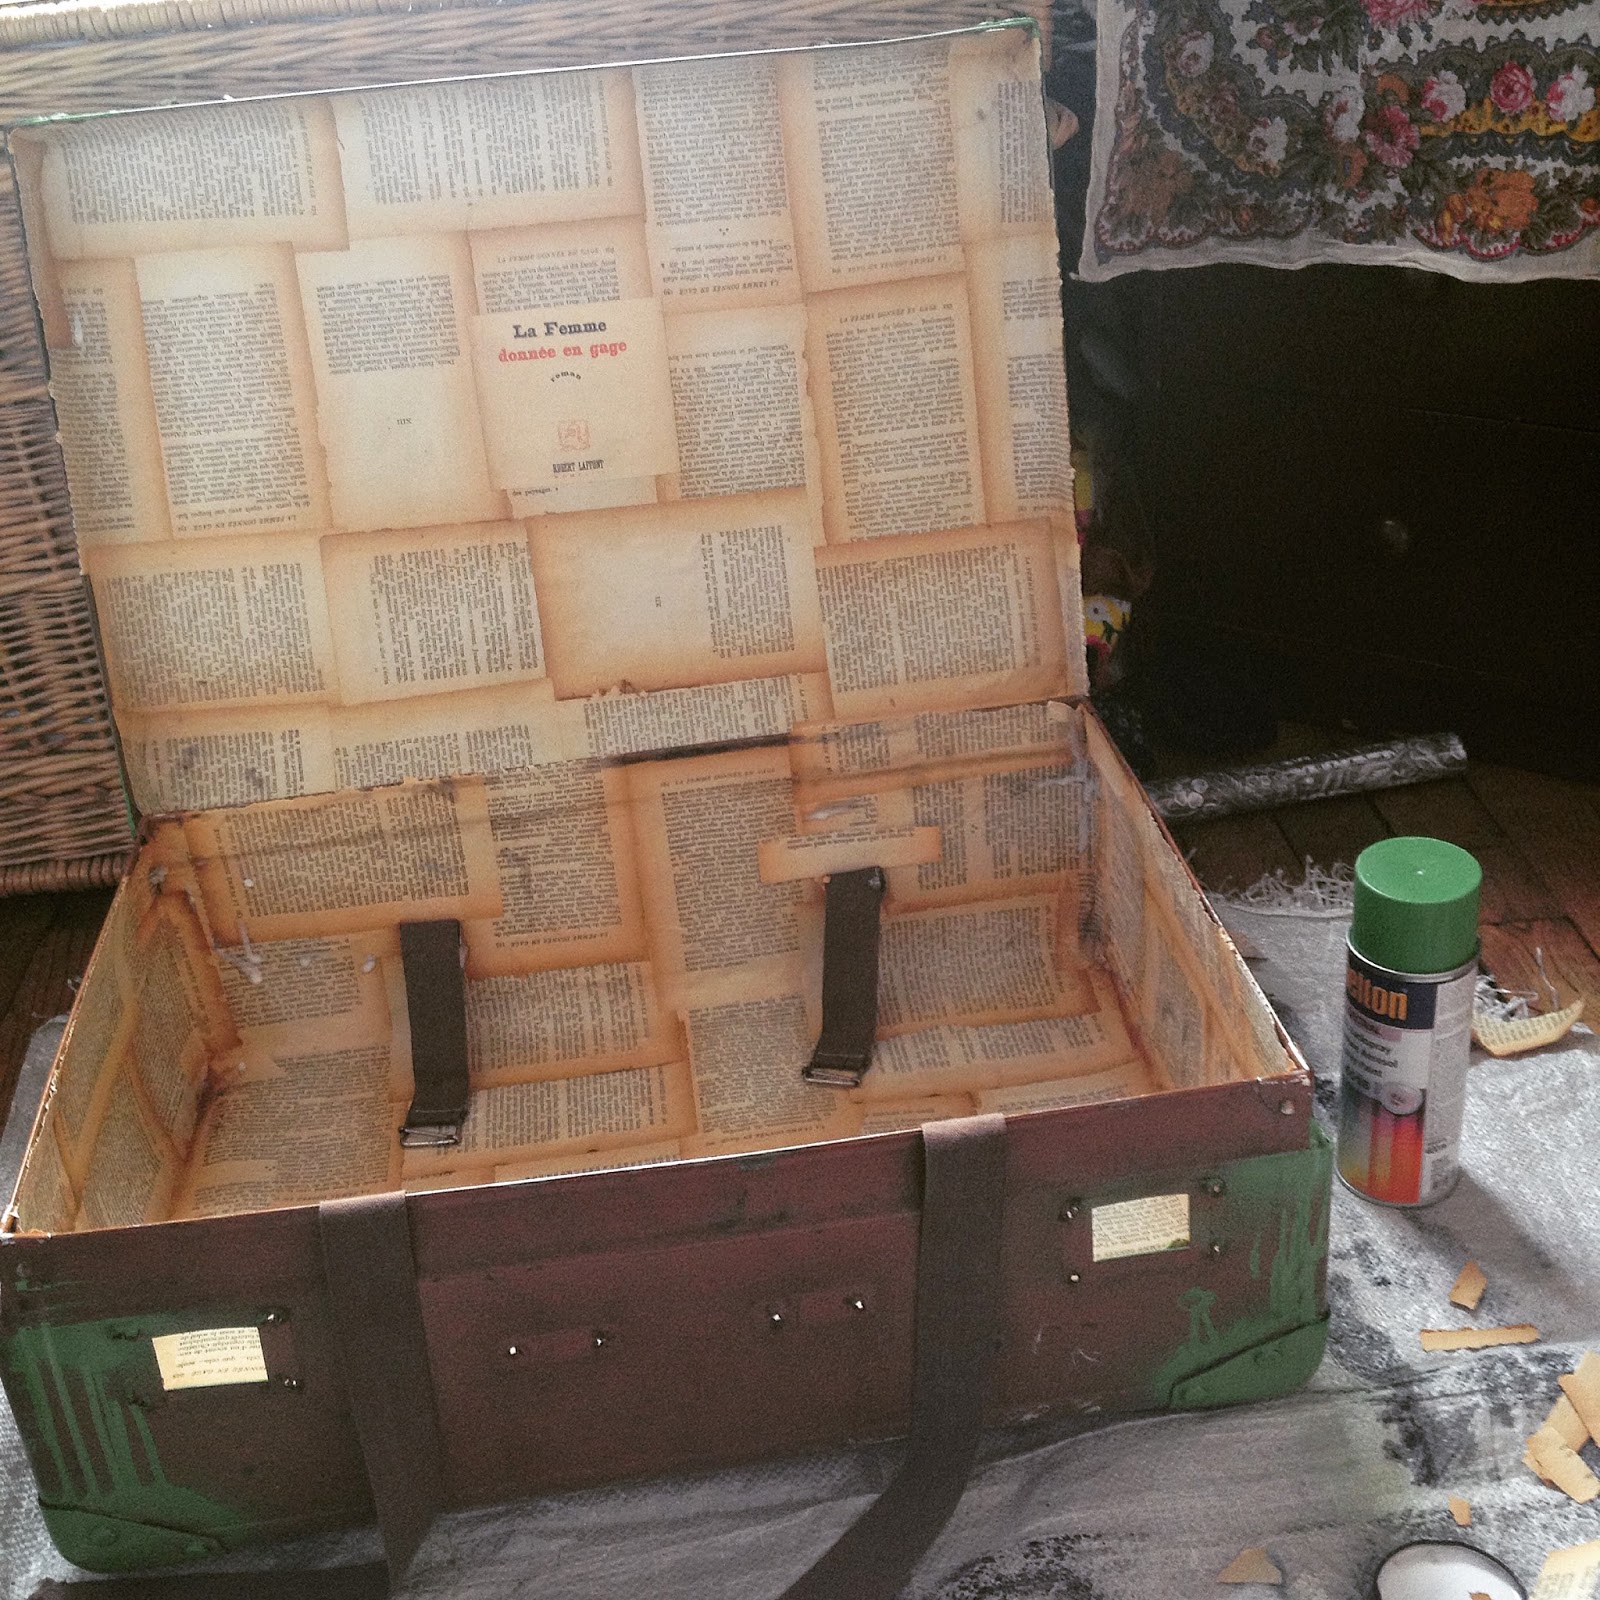
I left it open for a day or two, at which point I went to Ikea to look for fabric, failed and got some wrapping paper instead (for 1.99!). Gah. I also decided that I really did not like the green and decided to beg borrow and steal acrylic paint- I struck gold with some red that a mate kindly lent me.

So I laboriously went back over the whole thing...
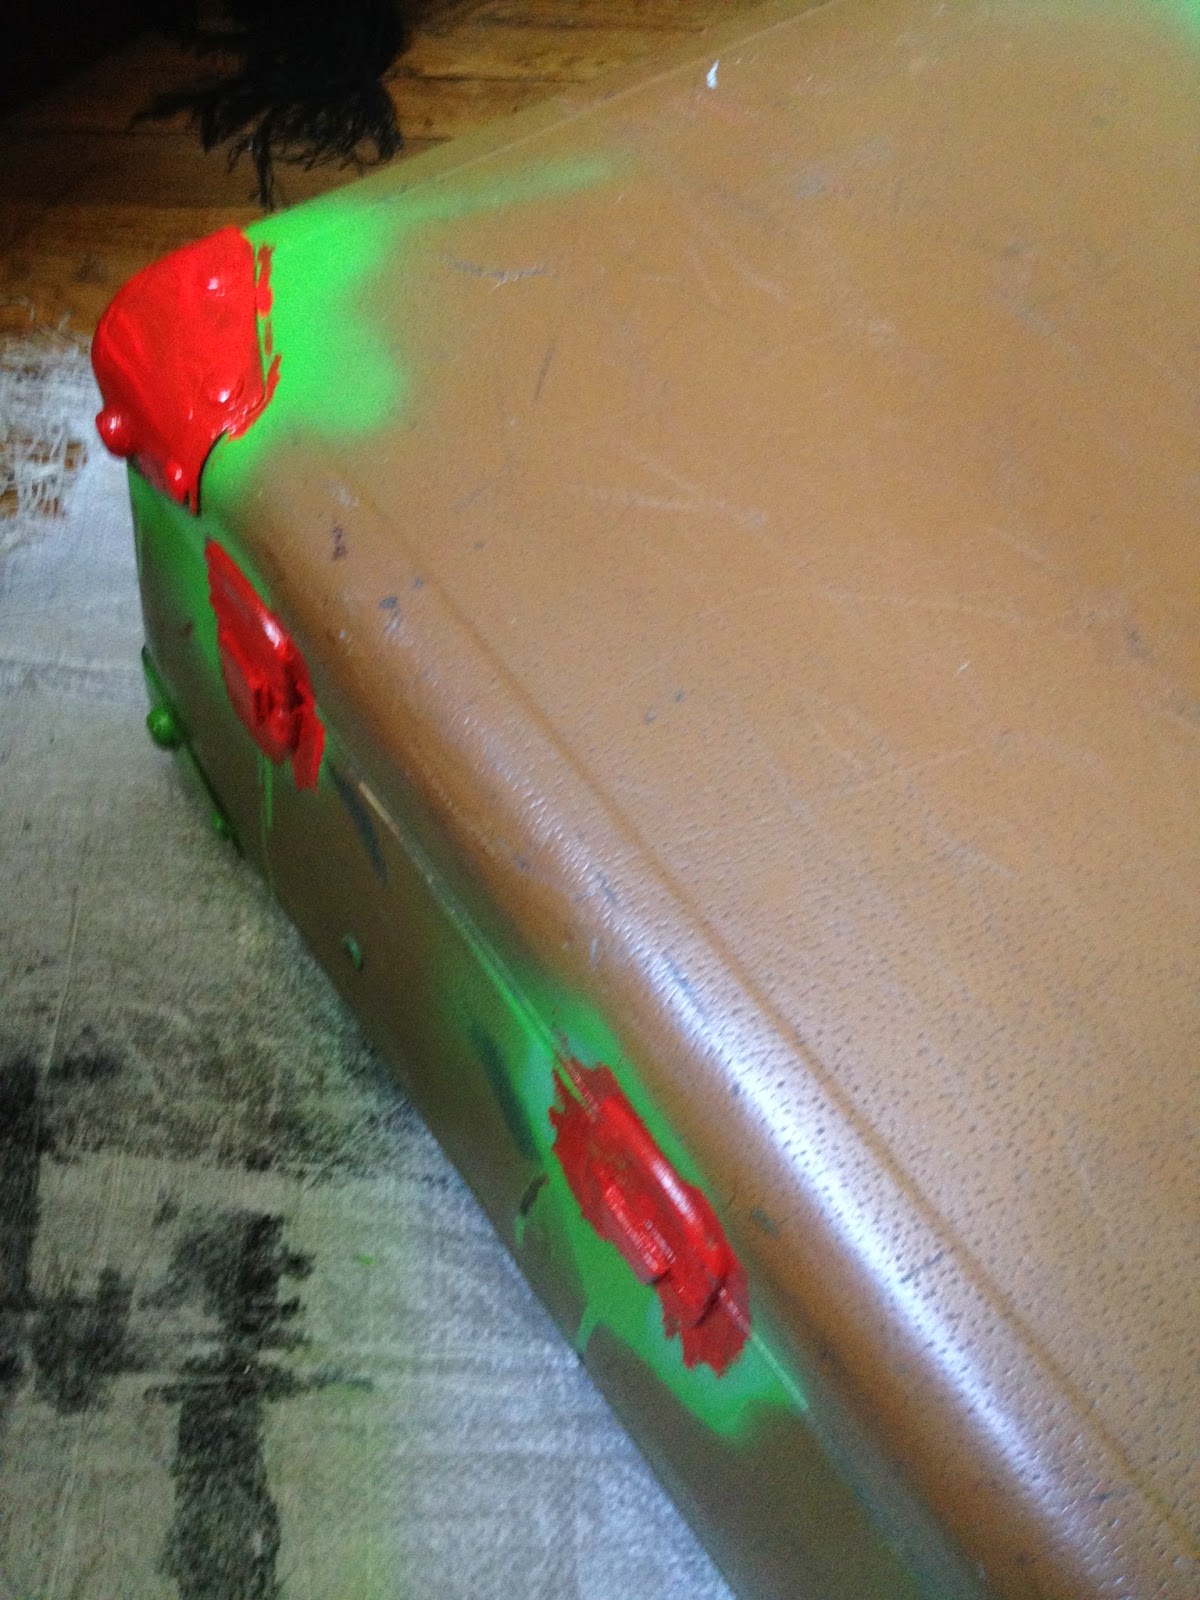
I had to do three coats of red and had to do this in stages. Do one side, let it dry, repeat. Repeat. Turn it over and do the whole lot again. Not fun. By this point I was really fed up of the mess. My room had become an obstacle course and getting to my wardrobe was hard work.
So once that was done I set to work covering it. This was NOT easy. I mean really not. It was really really fiddily. I spent a lot of time staring at it thinking "what. how. huh?" and in the end decided to stick it down and then cut around the metal. It almost worked.

I decided fixing the edges with double sided tape to hold it in place as I cut was the best bet. So here just used double sided tape (two differing widths- this is for no reason, its just what I had).
Then I lay the paper over and smoothed out, pressing on the tape to keep it fixed.

THEN CAME THE FUN. HAHA. NOT....

I was feeling with one hand where the metal ended and with the other cutting the paper away. It was hardly accurate.

As you can see I messed up a lot and so resorted to patching it up.


I wasn't happy I had to do this but as the pattern is so busy you can't tell unless you look for it.

For the sides I did a similar thing.

Except when it came to the hinges at the back.

As you can see I cut slits to get the paper on easier, I then did the same cutting technique as before.
I then turned it upside down and measured the width of the gap between the metal and cut a strip long enough for the sides and bottom.

I lay it over and glued it down.

I was so sick of it at this point...

But I kept going, glueing, cutting etc.

FINALLY. For the inside edges I folded over the paper to that there was a rim all the way around (inside) of the wrapping paper, which you can see if you look carefully.

My chosen method of drying!
I then had to do all the final trimming and touch ups where I had chipped the paint etc.
And then came the mistake.
I wanted to varnish it, and found this in the cupboard and so varnished the inside bottom. Oh dear....


It is still really patchy... I am not happy... So I don't really know what I will do. I have however, for now, decided to leave it as I am going back to the UK next week and can't leave my room in such a mess whilst I am gone.

I think overall it was a success. It certainly looks good from a distance. But right now it has no protective coating, I think more research is needed. Had it been just fabric I would have left it and called it done. It did take a LOT of time, however I spent virtually nothing as I had or knew someone who had everything I needed. I do think thicker paper would have been better though as it didn't hold up to lots of glue well. It was a battle of sorts but for now its done. And I am content.
Now to clean up that huge mess...!


