Sunday, 24 April 2016

Some More Pretties


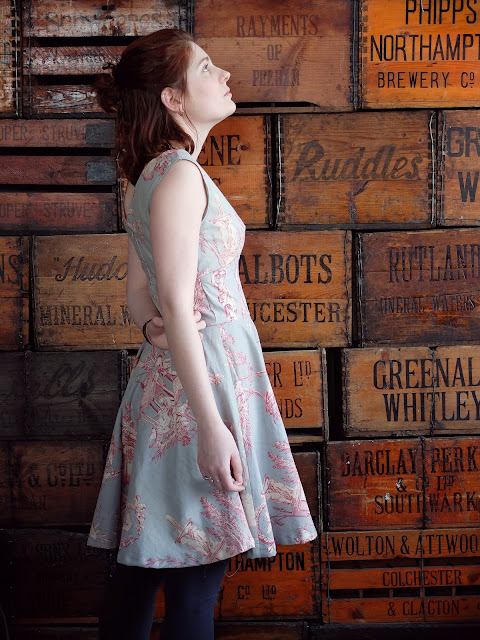
I am having one of those periods where there is so much I want to do but never enough time to get it all done. I have mental crafty to do lists as tall as this crate wall! I have managed to do a few, but there are more mitts to embroider, pins to make, skirts to sew..... lots and lots.


This little cropped cardi was in the unwanted pile of a friend, so I snapped it up and gave it some loving. What do you think? (Incidetally, I also made the skirt, a little too short but that's all the fabric I had left, and the shoes were snagged in a charity shop too!)


*******
This dress was the cause of not enough fabric (also because my mother wanted a cushion cover made from it too!). I am kinda pleased, I mean I am not so keen on the back of it but, well, for a first go why not?


*******


Something else I picked up in a thrift store, it was such a soft fabric. A little big so I took it in, then loved it up with some velvet and lace trim.


Hippity hoppity happy. Though I would like to add a pocket too.


*******
And finally....

In my quest to try to learn how to crochet (what a mighty quest that has become), I made this little pin.


I made it by crocheting a doily flowery thing, and collecting a few little treasure to attach to it. Think of all the thrifty possibilities!


Monday, 18 April 2016

DIY Fairy Wings for Cheap and a Day Out in Wonderland

YEARS ago 9 (and I mean almost 10 years I think), I fell in love with the bizarre quirks of a singer named Emilie Autumn (listen to my favourite track here) and stumbled across a video of her making the most gorgeous fairy wings. The video is somewhat irritating, I do admit, but she made making her wings look incredibly easy and I vowed that ONE day I would make some. I just needed an excuse!


Finally, finally! I found my excuse. A date in a Russian wonderland where the dress code was all things winged, be it a bird, a butterfly, fairy or whatnot. There was no question what I would attend  my day out in Wonderland as, so I quickly got to it. 

The basic procedure is to make the wing shapes from wire, use some tights to cover them, then make lacey holes using incense and then decorate them with paint, glitter, flowers and ribbons. (See the vid for more details).

It was not as easy as I thought. First of all I bought wire that was too weak so had to go out and get more. I then spent AGES getting the right shapes only to have them totally distort when I put the tights over them. It so happened that half way through I mildly Tom and Jerryed my head on the kitchen counter (think about those huge bumps they got whenever Jerry whacked T over the head) which possibly made me more haphazard. Thankfully my housemate stepped in and helped out. She drew the lines out and I played fill in the gaps with the paint. Two coats each side. When totally dry I mixed copious amounts of glitter into glue and painted the clear sections and parts of the green tips. We burnt out some holes as Emilie suggests using incense, and then I wired them together, covered with tape then ribbons with the glue gun before finally adding vines, more ribbons and a flower and then straps. Voila!! 


Considering it was our first go, I am quite happy with our handiwork. I made a quick crown to go with it too.


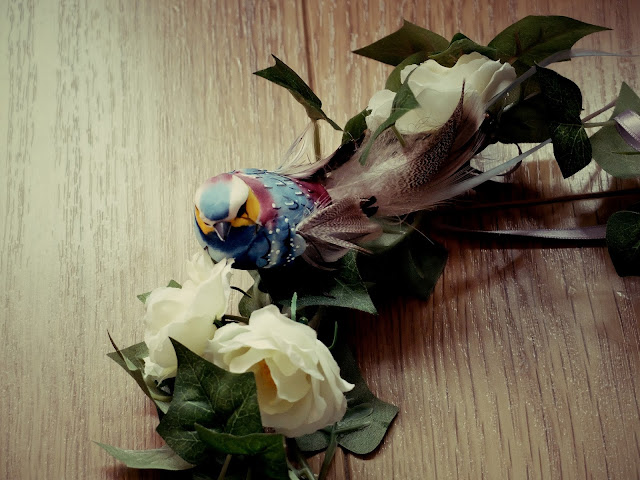
It is basically two pieces of the vines bent around each other, with ribbons attached at each end so that it could be tied shut, with a few flowers glued on and a bird clip nestled in.


A faerie is gotta be covered in nature right??

Now here is sneak peak at our day out at La Moulin Jaune....


A few of me dressed as a fairy...


And a few of the rest of our trip.


The people at Le Moulin Jaune asked that we don't share pics, to keep the surprise safe, so I have only shared a few with you here. The rest are tippoty top secret.


(Try Me...)

Tuesday, 23 February 2016

The Acquisition and Alteration of an Antique Blouse

I can't help but feel I should have found a garment name starting with an "A" to finish that heading  ^-^ Ah well!

I recently found this beautiful little top on Etsy but knew from the measurements that when it arrived, the bottom band would be too tight to fit comfortably. But as you know, this never stops me from buying pretty clothes....


It is very old, the seller said 1910s, and as such had a few marks on it.

I didn't make any effort to remove the marks, I figured they would fade with time, plus it seems part of its history to me.


 The top is basically one piece that goes over the head, with buttons under the arm to hold it together and then on the band. Though it fits on the bust and everywhere else, the band is just too tight so I decided to alter it a bit.


I raided my antique lace stash and cut off two pieces that would fit from the underarm button to the band, hemmed them and stitched them to one side of the top.

I then added a popper to the side that wasn't fixed. So that I could still get it on and off easily.


So it looked like this. Under the button, on the inside is the popper fastening. It stays closed and the lace peaks out. Kinda perfect I think. 

Well almost.


I ended up adding some touches of red. The button is actually on the back. I am quite tempted to embroider some daisies on the front band in pale blue. But it hasn't happened yet....


For now it is finished.


Back


Front


Side detail.

I am looking forward to hot summer days and picnics in the park for this one.

Monday, 22 February 2016

Learning to Crochet: The Haphazard Metro Scarf

Just a quickie... Lots to share with you guys and very little time.

So my laptop kind broke.... Rather phenomenally. So after a huge bust up with Amazon, I waiting for my lovely, talented pawed special person to fix it for me. Meanwhile I have been finding other ways to entertain myself. Including learning to crochet.....


I did most of it on the metro using left over balls and so had to utilize this cute fox peg to keep it all in place when it was shoved in my bag. It kinda too me a while to get the hang of it too. As you can see from the dodgy end...!


(The flowers are the handiwork of my mother, less of a novice than I)


A lot of technology deprivation later.... It is now a scarf. I want to learn how to do other things, like a jumper, but honestly I am not sure I have the skills yet... Been trying to read some patterns and its like reading Alien speak. *sigh*


I have so many more pretty pics to share with you soon......


Have a look at more pretty pics here.

Monday, 4 January 2016

The New Year and Some Pretty Embroidery

Ahh it has been soooo long. To cut a long story short I got caught up in a new job- I am now teaching English as a foreign language at uni. I did not stop being creative, but I did stop blogging about it. I posted a bit on instagram and FB but really got quite irritated that I did not write here. For 2016 I am going to try to be better. I have set myself some creative objectives and I am going to try to stick to them...!

Someone I have recently discovered is Dottie Angel, I know I am mega behind...! I remember spotting a feature on her in Mollie Makes a few years back but I was very distracted by uni and it zapped all my creative spirit. Having then rediscovered her, I was hugely inspired by her "woolley tattoos" and just had to have a go. 

Dottie Angel Mittens

I was so smittened with Dottie's smittened mittens that I decided I must too embroider prettiness upon knitted things. But when I did mine I had not read this blog post (linked above) just stared at various instagram pics and sorta just made it up.
today I am home alone for the first time in nearly 3 months . I am using my time wisely finishing off these #woollytattoo @tincanknits maize mitts before delving back into the pages of my current read, The Forty Rules of Love by Elif Shafak... the laundry and inbox can wait another day :

Both are found on her instagram.

you can never have enough kangaroo pockets I am thinking {#dottieangel #dottieangelfrock #woollytattoo}:

So I just had to have a go. And I did. I just made it up.

First I needed a junper, two days after I decided this I walked into a street market and found an unwanted French Connection, vaguely fair isle cardi. I had three euros in my pocket so I offered the French old lady my 3e in exchange for the rather to big cardi (so she thought) and took him home.

“Oooo the possibilities. Can't wait to have time to finish my embroidery pockets. #craft #vintage #wool #knitting #embroidery”:
From my instagram

Now, I have a confession. I can't knit, and at the time of starting this I could not crochet either (I can kinda crochet now, albeit totally askew). So I shared my woolley plans avec ma mere and persuaded her perfect knitting paws to knit me two pockets for me to then attempt to flower. 

I had no practice, no plan, no technique. I just went for it. Look what happened....!

“Finished pocket one. #woollytattoo #dottieangel #thrift #upcycle #embroidery”:

In a rather daft and scatty manner, I stitched the pockets to the cardi before prettying them up, but as I wore it in between attacks with wool, it worked out for the best. 


Dungarees and a good comfy knit.

S
Pocket close up

Then one morning on my way to work I grabbed a perfectly fitting dark grey woolly cardi off my housemate's reject pile, it wasn't until a few hours later I realized it was riddled with nibbles. *Sniff* So over xmas I resolved to give him a new lease of life. It is an on-going WIP as I keep finding more holes. The battle against the winged ones is still on... But he is looking good so far I think.


Very nibbled arrm. 


Two flowers and two buds and a lone bee.


Itty bitty bee


So far I have only stitched where there are holes, and I have not yet covered them all up, but I am slowly winning this woolly war. I might have to do some evening out too??? Not sure....

I think maybe I would have had more success reading about what Dottie did first but then maybe I would not have had so much fun. Mine was zero stress, lets see what happens, oh dear it looks a bit weird, lets add some leaves instead. I think the secret it layering, and just add another colour or layer to the flower.... Or sit back and go make a cup of tea then look at it again. Or ask another human bean, "does this look totally nuts and weird or ok" to which hopefully you will get the answer "it looks like something you would wear". Maybe a bit nuts then.