Sunday, 24 April 2016

Some More Pretties


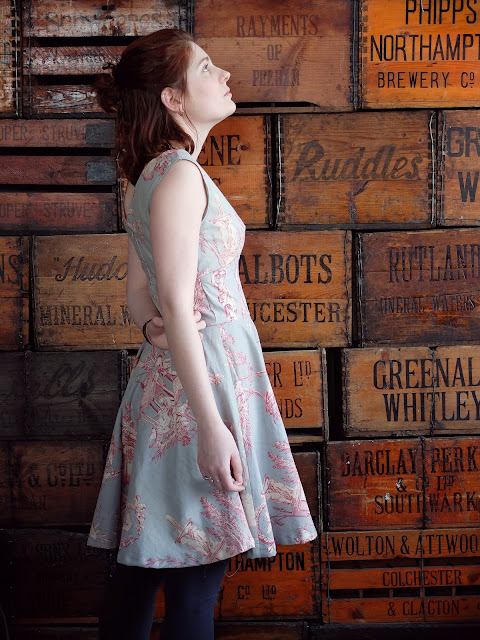
I am having one of those periods where there is so much I want to do but never enough time to get it all done. I have mental crafty to do lists as tall as this crate wall! I have managed to do a few, but there are more mitts to embroider, pins to make, skirts to sew..... lots and lots.


This little cropped cardi was in the unwanted pile of a friend, so I snapped it up and gave it some loving. What do you think? (Incidetally, I also made the skirt, a little too short but that's all the fabric I had left, and the shoes were snagged in a charity shop too!)


*******
This dress was the cause of not enough fabric (also because my mother wanted a cushion cover made from it too!). I am kinda pleased, I mean I am not so keen on the back of it but, well, for a first go why not?


*******


Something else I picked up in a thrift store, it was such a soft fabric. A little big so I took it in, then loved it up with some velvet and lace trim.


Hippity hoppity happy. Though I would like to add a pocket too.


*******
And finally....

In my quest to try to learn how to crochet (what a mighty quest that has become), I made this little pin.


I made it by crocheting a doily flowery thing, and collecting a few little treasure to attach to it. Think of all the thrifty possibilities!


Monday, 18 April 2016

DIY Fairy Wings for Cheap and a Day Out in Wonderland

YEARS ago 9 (and I mean almost 10 years I think), I fell in love with the bizarre quirks of a singer named Emilie Autumn (listen to my favourite track here) and stumbled across a video of her making the most gorgeous fairy wings. The video is somewhat irritating, I do admit, but she made making her wings look incredibly easy and I vowed that ONE day I would make some. I just needed an excuse!


Finally, finally! I found my excuse. A date in a Russian wonderland where the dress code was all things winged, be it a bird, a butterfly, fairy or whatnot. There was no question what I would attend  my day out in Wonderland as, so I quickly got to it. 

The basic procedure is to make the wing shapes from wire, use some tights to cover them, then make lacey holes using incense and then decorate them with paint, glitter, flowers and ribbons. (See the vid for more details).

It was not as easy as I thought. First of all I bought wire that was too weak so had to go out and get more. I then spent AGES getting the right shapes only to have them totally distort when I put the tights over them. It so happened that half way through I mildly Tom and Jerryed my head on the kitchen counter (think about those huge bumps they got whenever Jerry whacked T over the head) which possibly made me more haphazard. Thankfully my housemate stepped in and helped out. She drew the lines out and I played fill in the gaps with the paint. Two coats each side. When totally dry I mixed copious amounts of glitter into glue and painted the clear sections and parts of the green tips. We burnt out some holes as Emilie suggests using incense, and then I wired them together, covered with tape then ribbons with the glue gun before finally adding vines, more ribbons and a flower and then straps. Voila!! 


Considering it was our first go, I am quite happy with our handiwork. I made a quick crown to go with it too.


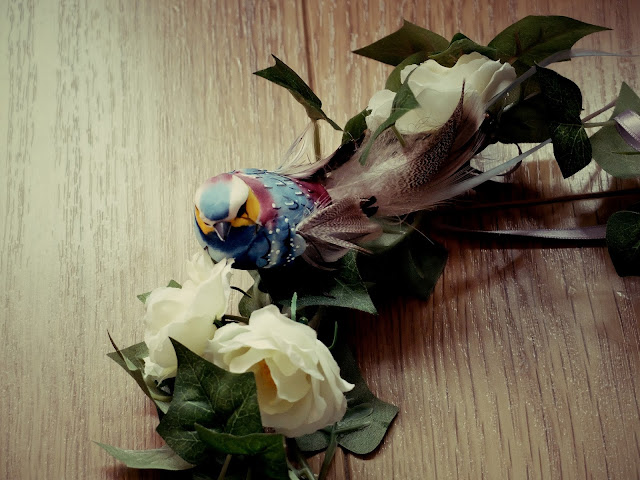
It is basically two pieces of the vines bent around each other, with ribbons attached at each end so that it could be tied shut, with a few flowers glued on and a bird clip nestled in.


A faerie is gotta be covered in nature right??

Now here is sneak peak at our day out at La Moulin Jaune....


A few of me dressed as a fairy...


And a few of the rest of our trip.


The people at Le Moulin Jaune asked that we don't share pics, to keep the surprise safe, so I have only shared a few with you here. The rest are tippoty top secret.


(Try Me...)